Thursday, 19 June 2014

Different Shot Types!

Over the shoulder shot - This shot is used usually between two people having a conversation, it's a useful shot to use to switch back and forth when characters are talking, here are two orcs from Lord of the Rings in mid-confrontation
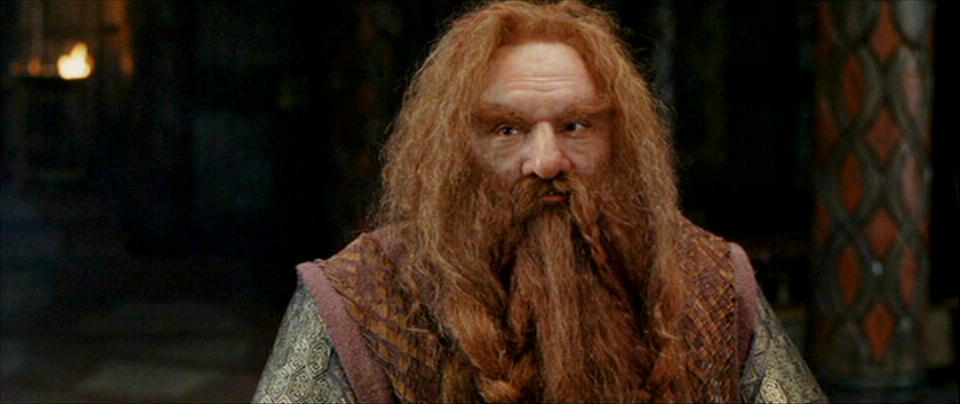
Medium Close up - This shot is used to identify the characters emotions and body language but also to show what's happening in the background as well.
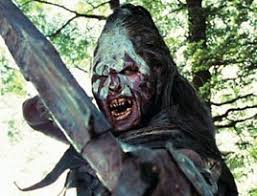
POV (Point of View) This shot is from someones or something perspective, in this example it is from the character 'Boromirs perspective as 'Lurtz' Points an arrow at his head.
Medium shot - This shot is used to establish and identify a character and show there body language, usually from the torso upwards, here is Legolas from Lord of the Rings, you can see by his body language that he is ready for action with his bow semi-drawn.
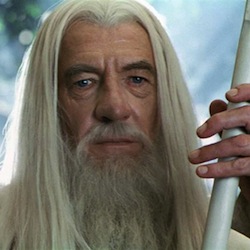
Close up - This is shot is usually a close up an actors face, used to show the emotions of the actor, for example here is Gandalf from Lord of the Rings
Extreme close up - This shot, is what it says; an extreme close up of anything, this example is the One Ring from Lord of The Rings
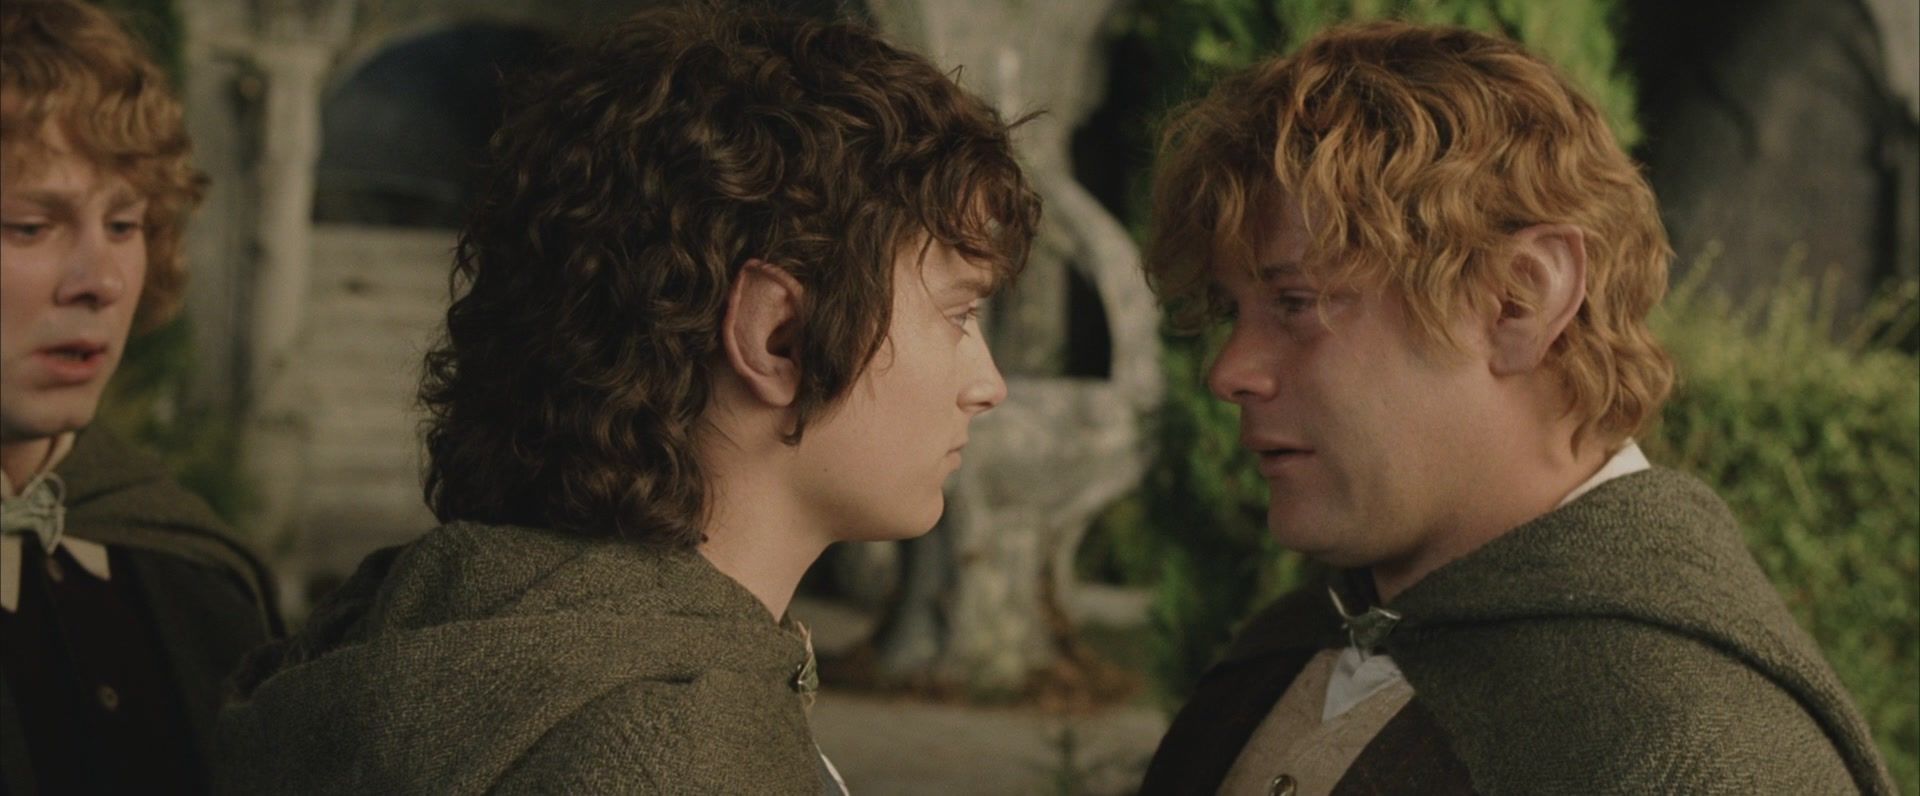
Two shot- This shot is used to get two characters in a shot, usually having a conversation. This example is Frodo and Sam from Lord of the Rings
Wide Shot - This shot is used to get all the action in one shot, and to establish the characters this is an other example from lord of the rings
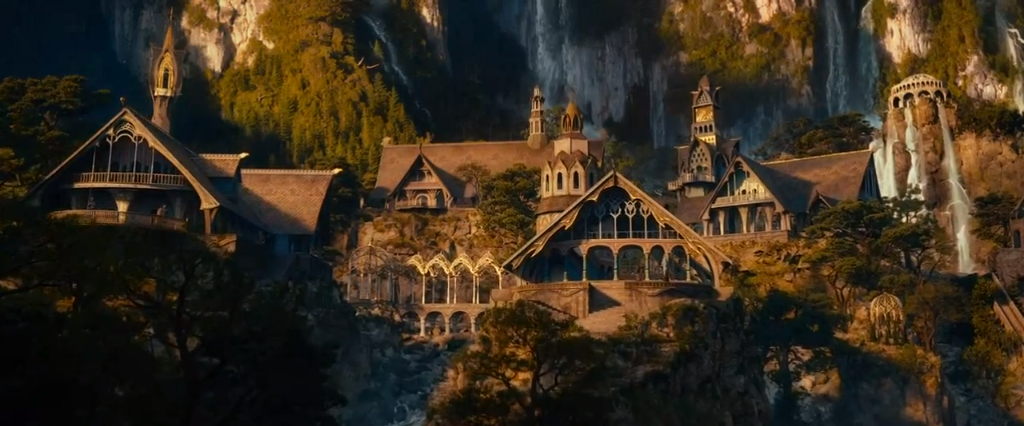
Establish shot/Extreme wide shot - This type of shot is used to establish the location of the scene, this example is from Lord of the Rings, it is the Elven city of Rivendell


Conclusion

If you've went through all my blogs you should now have a good idea and understanding on how to work Adobe Premiere Pro, how to edit footage and what editing really is, I hope you've found my blogs useful and they will help you in your future work and projects.

Monday, 16 June 2014

Principles of Editing

Quentin Tarantino on film editing:For a writer, it’s a word. For a composer or a musician, it’s a note. For an editor and a filmmaker, it’s the frames. The one frame off, or two frames added, or two frames less… it’s the difference between a sour note and a sweet note. It’s the difference between a clunky clumsy crap and orgasmic rhythm.”

The main principles of editing are: 

  1. Telling a story- Creating a film with a story line and continuity to keep the audience interested.
  2. Creating a meaning- A film must have a meaning, purpose or motive, with out these it would just be shots strung together with no editing.
  3. Creativity - Good editing techniques allows more room for creativity, giving editors freedom to create a professional film that will attract viewers
The principles of editing are  used to try and get the best out of the footage you have. They are sort of like rules and guidelines, they can be broken and used alternatively to greater effect but the majority of editors stick by them. When researching the principles of editing I managed to stumble across a very early soviet film theorist and editor by the name of Vsevolod Pudovkin he was one of the great innovators in early film. He believed that editing, the organisation and placement of shots was a means of expression, that was completely unique to film making, unlike the other art forms such as theater, literature and paintings etc. Although he isn't as well know as other soviet film makers, He coined five extremely important principles of editing which are: 
  1. Contrast ( Cutting from one shot to another completely different shot, allowing viewers to compare the two different scenes)
  2. Parallelism ( This is connecting two scenes visually by matching certain elements between the scenes, it is commonly used to switch from location to location)
  3. Perfect example of Symbolism in Space Odyssey (2001) A bone thrown in the air changed into a space station symbiosis evolution of humans.
  4. Symbolism ( Similar to parallelism, but this time the connection between the two scenes are connected symbolically, for example in Alfred Hitchcocks 'Psycho' When a close up shot of blood flowing down a bath tub drain turns into a human eye of a dead person, the drain is the same shape and size as the eye in the next scene (parallelism) but the symbolic meaning behind the two scenes is the metaphor 'A life down the drain'. 
  5. simultaneity/cross cutting ( This is when the movie switches between two scenarios back and forth)
  6. leit motif (even though this usually means a constantly recurring musical theme usually associated with a place, person or idea, for exapmple in the movie Star Wars when the Sith Lord Darth Vader enters you will hear the emperors march theme. But Pudovkins idea of Leit Motif was a certain shot, like a recurring shot of a clock to show the importance of the time)
These examples of five principles/techniques are very important in film making now, almost every film will use these.

Sunday, 15 June 2014

Starting a Project

In this blog ill go step by step on how to create a new project on Adobe Premiere Pro because today I am creating my own new project with my class. I have called the project Shot Types and I will be using Adobe Premier Pro software. Here are the steps that i used below:


  1. Click new project and give your project a name
  2. Change the presets to 1080p and then click on AVCHD 1080p25
  3. Find your files in the media browser and highlight all the footage and drag and drop into the editing bin
  4. Rename the footage by double clicking on the footage in the editing bin.
  5. Drag the clip to the players and set points where you want the clip to start and finish.
  6. Add the finished clip to the timeline sequence and repeat to all the clips you want in the player.
That's all the steps I used, I have successfully finished three projects now, check the rest of my blogs to view them.

Filming Duties

As you could imagine when it comes to filming for a project each person will have a duty to do. whether it be in front or behind the camera.
This is a camera man, doing his part!

The camera man is in charge of...well it says it in the name, the camera! his duties would be to set up the camera, at  desired angle for each shot and then record the footage. The directors duty is to direct the movie, obviously. He/she basically has to make sure everything runs smoothly, they will direct the actors, tell them what to do and what positions they should be in. They have to give the signal to the camera man when to start recording and when to stop recording as well. When the director says 'rolling' the cameraman will start recording then they will say 'action' a few seconds later and that is when the scene takes place. The reason there is a few seconds between saying rolling and action is so there is time for the actors to prepare and its gives more room for editing. 

And for the actors, well they act! They do what the director tells them, and hope they don't forget their lines.


Each person has a duty to do when filming where ever it is infront of the camera or behind the camera.
The cameraman roles are to set up the camera in a postion ready to start filming and to make sure it is in a good angle.When the director says start rolling this means that the camera man should start recording on the camera and gives the actors a few second to get in position.

The directors job is to make sure everything is going smoothly and everyone is in position.When the director says cut this means everyone can stop what there doing, if the director says action this means that the actors should start acting.

Camera and Tripod

For this blog i will talk about setting up the camera and tripod. A tripod isn't always a 'must' when filming but they can be handy depending on the shots you are filming, anyways the first step would be to remove the tripod from its bag and uclasp the legs, then you can decide on the length of the legs, obviously this depends on the shot you want. Unlock the middle leg, extend that to the same length as the others then your tripod will be up and ready for action.

You will see that on the top of the tripod there is a pad/platform, this is where you attach the camera. Unlock the pad and attatch it to the bottom of the camera it should be fairly easy to screw on, now re-attach the pad to the tripod with camera on it. The camera and tripod are now up and ready, you'll notice there is a handle on the tripod, this is so you can maneuver the camera around when filming. Now enjoy your filming!


These are few different ways in which you can manipulate the Tripod